To improve email delivery performance, we strongly recommend adding 4 DNS entries to your sending domain's DNS server. With these settings in place, you'll increase your chances of hitting the inbox and avoiding spam categorization.
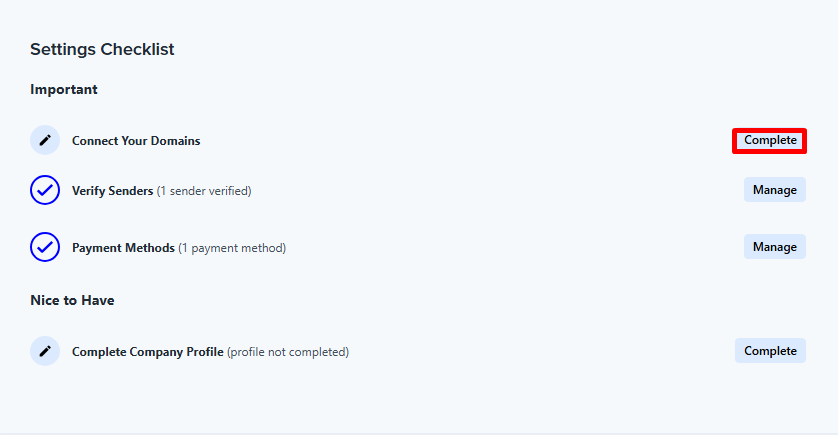
To set up your domain go to Settings -> My Connected Domains or go to Settings -> Overview and find the section Setting Checklist. Then click Manage to the right of Connect Your Domains. (Watch the video tutorial below)
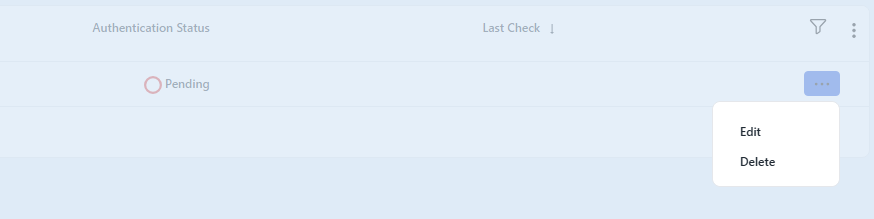
Connected Domains page with a list of domains will open. Here you can see the domain name and status.
Connect a new domain
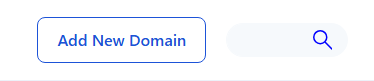
To connect a new domain click Add New Domain or Connect Your First Domain if you do not have any connected domains yet.
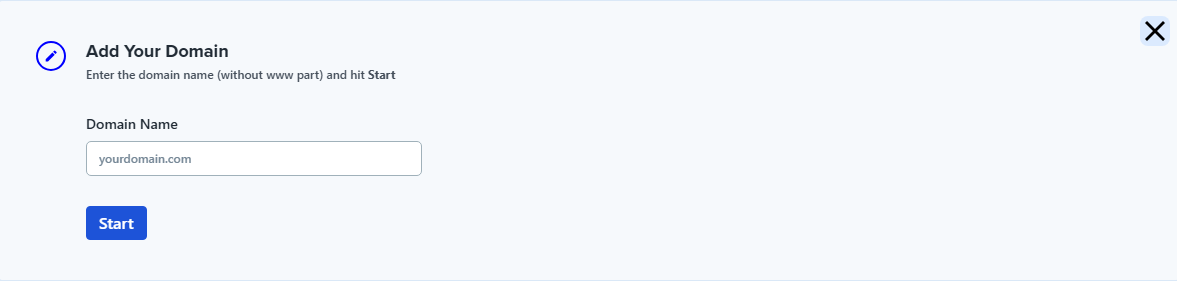
In the dialog box, that opens, enter the domain name and click Start.
The dialog with your custom DNS settings for the entered domain name will open. You need to fill in these settings in your hosting provider or domain host.
If you don't have access to your domain control panel, or you don't feel comfortable doing these settings, contact the customer support of your hosting provider.
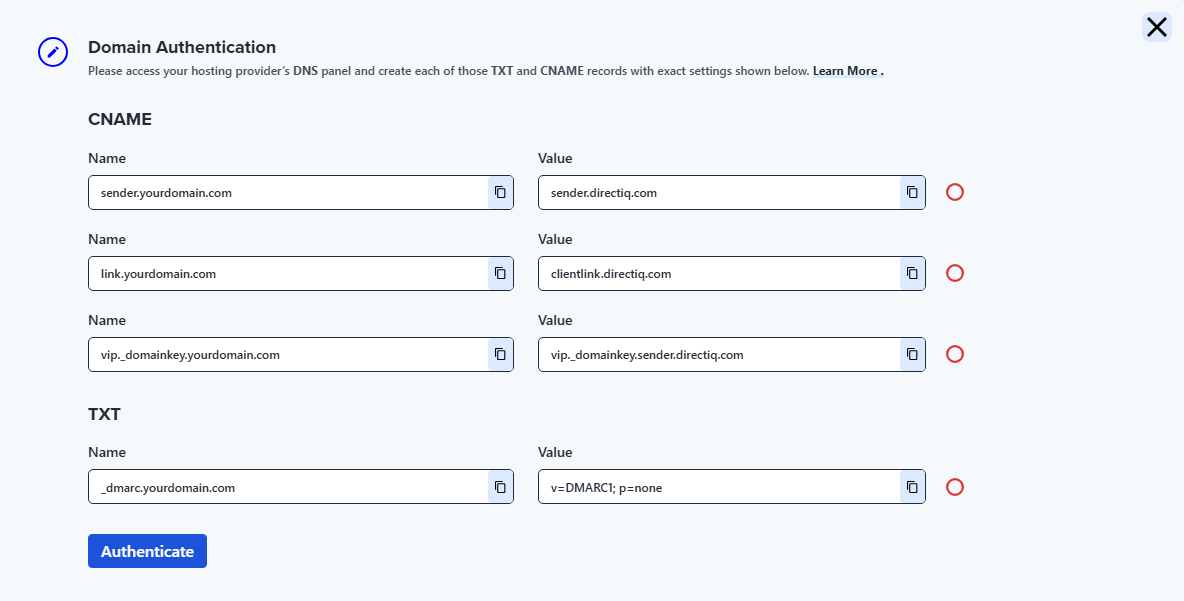
Once you set these settings in your domain panel, click Authenticate to verify them. The red marker to the left of each setting will switch to green once the settings are verified.
DNS changes may take up to 24 hours, so, you may have to wait before authenticating. You can leave this page, and come back later to authenticate.
Manage domain
To see custom DNS settings for the domain name click on the manage icon (icon with pencil) in a row with the domain. You can authenticate them if you haven't done it before.
Delete domain
To delete the domain click on the delete icon (icon with trash) in a row with the domain.
See also:
How To Manage Account Information