To create a new flow, follow these steps:
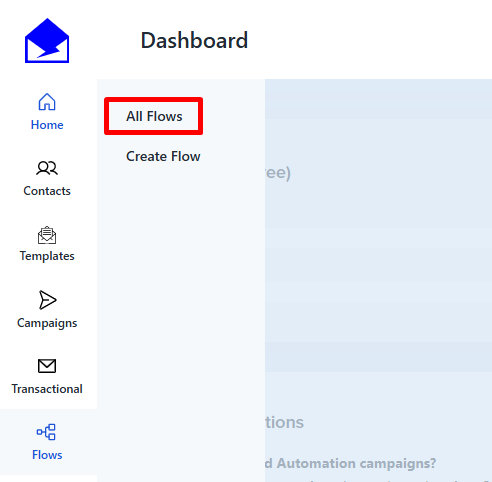
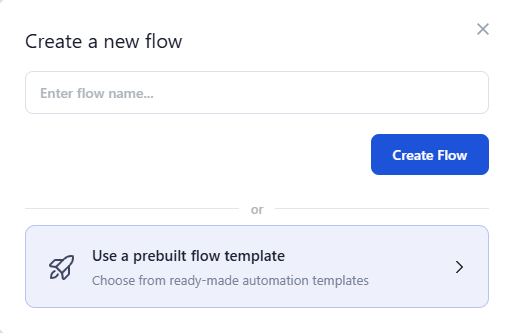
1. Go to Sidebar-> Flows and click on Create New Flow then either Choose a Pre-built Flow Template or choose the flow name and click Create Flow.

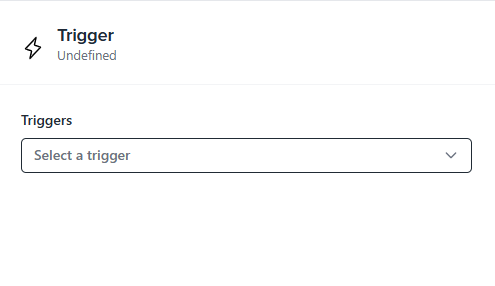
2. Choose a Trigger that will start the flow, from the Trigger drop down menu on the right :
a. Campaign Sent
Triggers the flow when a specific email campaign is sent to a contact. This is useful for following up with targeted messages, tracking engagement, or continuing a sequence after an initial campaign. You must select the relevant campaign for the trigger to activate.
b. Contact Added to List
Automatically starts the flow when a contact is added to a specific email list. Useful for welcoming new subscribers or sending targeted campaigns based on list membership. The triggering list must be selected after choosing the trigger.
c. Contact Added to Tag
Initiates the workflow when a contact receives a specific tag. Ideal for sending tailored messages based on user behavior or segmentation. You must select the relevant tag for the trigger to work.
d. Date Property
Triggers the flow according to a chosen date, such as birthdays, anniversaries, or subscription milestones. Perfect for sending timely, personalized emails. The date property must be set and selected by you.
e. Survey Submitted
Starts the workflow when a contact submits a survey. Ideal for sending follow-ups, analyzing feedback, or segmenting users based on their responses. The specific survey must be selected for the trigger to function correctly.
Then click the Save button on the bottom.
Note: once a trigger is saved, it cannot be changed anymore, However you will be able to edit contact filters whenever you need it as in the image below:
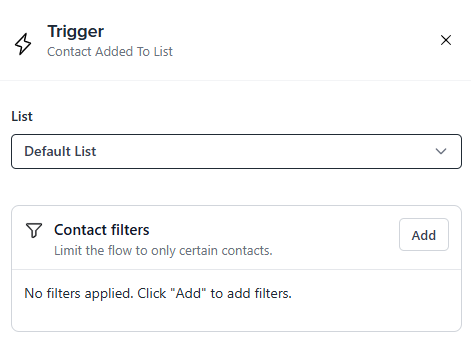
4. After clicking the add button select the filter option then select from the conditions,then set the desired filter, after that click the save button.

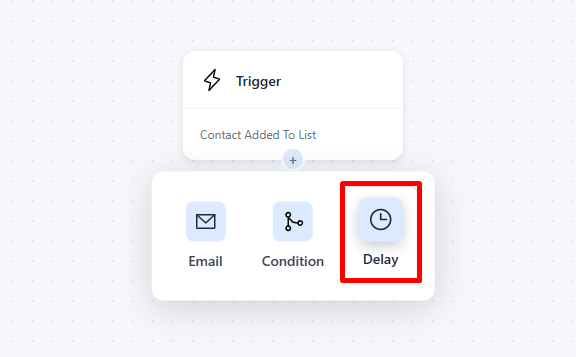
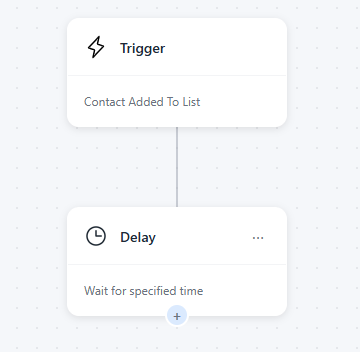
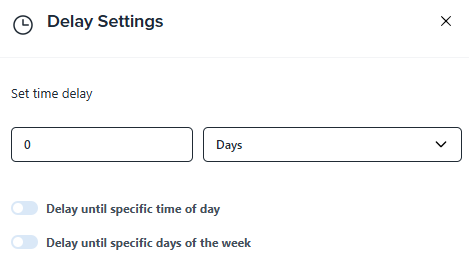
5. Add a Delay Block to schedule the timing between emails in your automation flow. Configure the delay in months, weeks, days, hours, or minutes to control when the next email is sent. This allows you to space communications strategically and maintain engagement with your contacts.
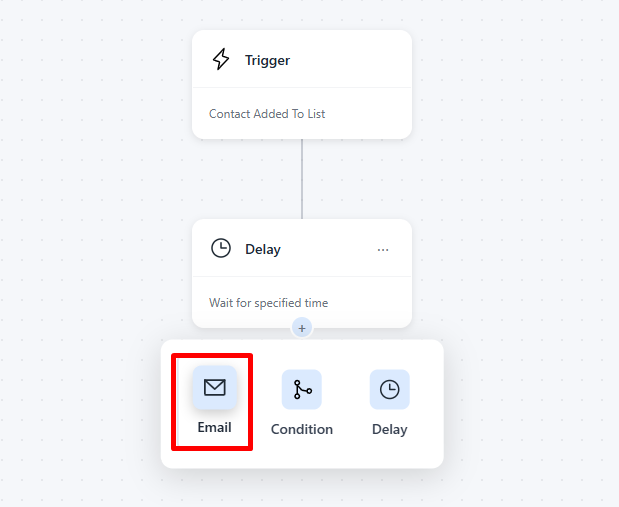
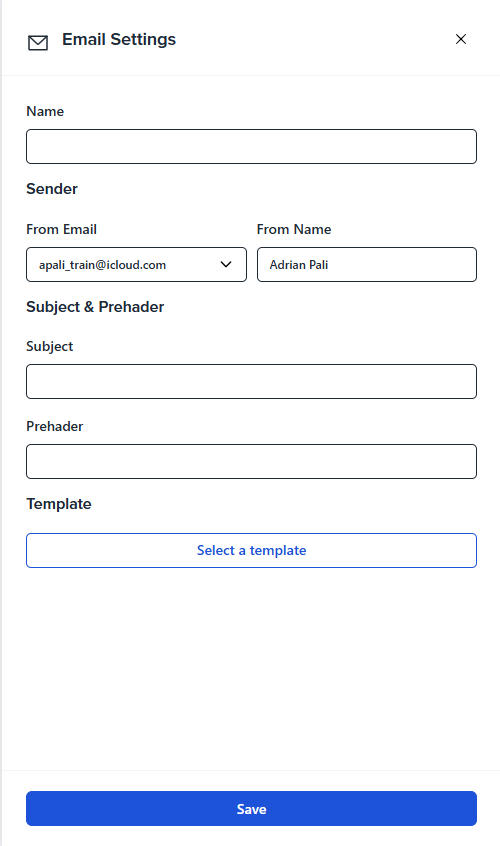
6. Add an Email Block and select the email name, sender address, sender name, and template. Set up audience filters to target specific contacts based on imported fields.
7. (Optional) Add a Logic Block to apply conditions that personalize the flow based on Contact Property or events.
Note: the contact property refers to fields like name, last name, email or any other custom fields that you might have. The events on the other hand refers to contact events like received x email, opened x email, clicked x email, unsubscribed x email, so for example: "on a flow step you want to send the next email only to someone whose email contains "@gmail.com" or an email you specify"
The flows have no usage limit and you can add as many steps as you need.
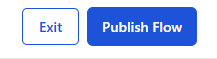
Review your flow settings and click Publish Flow to set the flow live or click Exit if you want to save it and edit it later.
Creating a well-structured flow helps deliver personalized, timely, and relevant messages to your audience.
See Also:
How To Set Up Campaign Recipients