We all know that an attractive presentation of your website will surely increase more traffic but everyone wants to convert that single visitor into a long time customer. This is done through subscription forms ( often integrated in the website ) but sometimes not adapted to fulfill the marketing needs.
DirectIQ Subscription forms Are Customizable and a powerful tool to keep your contact engaged, Especially through Email Marketing. Editing and designing a Subcription Form in DirectIQ is very easy:
First If you have not yet created a subscription form, Check Subscription forms Overview.
Then to edit the form, Go to Contacts > Subscription Forms then Click the pencil like in the image below:

The subscription form control panel has 3 main Editing Areas: Settings, Design And Fields.
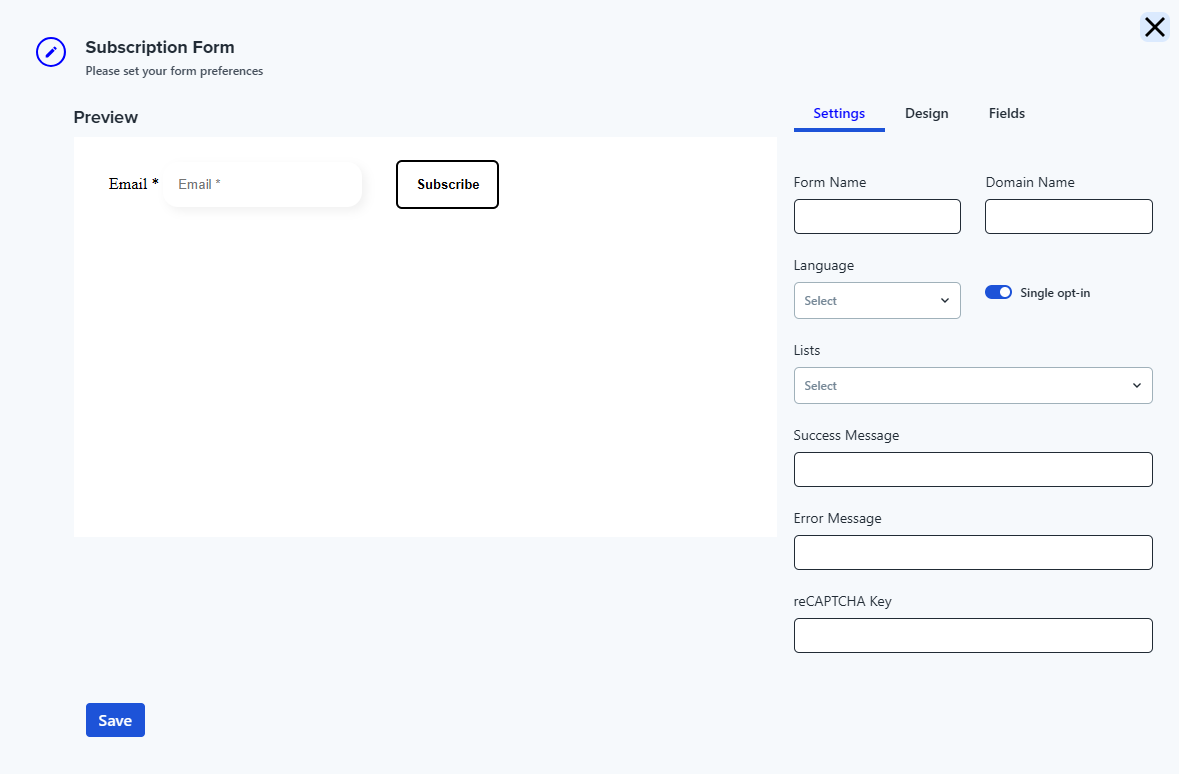
Settings
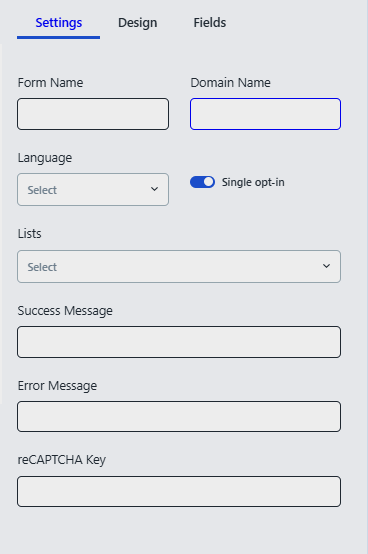
On the settings page, as the name implies, you can edit the Subscription form Functionalities. Below we will list all the Settings and their functionalities:
Form Name : The name of the Subscription form
Domain Name : The Domain name where you will insert your form (EX: directiq.com )
Language : The language of the Subscription form
Op-in Type :
If you want the customer to sign up immediately (single opt-in).
If you want to send an email to the customer to confirm the registration (Double opt-in)
Lists : The list where the subscribes will be registered
Success Message : The Message displayed when the customer registers successfully
Error Message : The Message displayed when the customer registration is not successful
reCAPTCHA Key : If you want to use Google or other services reCAPTCHA Then this is where you insert the reCAPTCHA key
Design
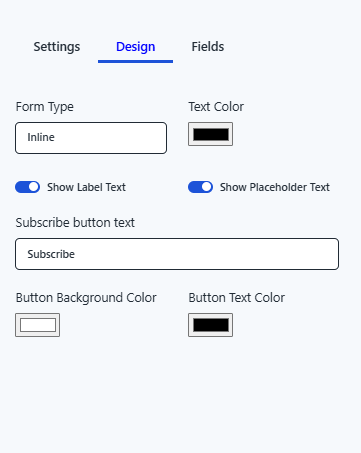
Form Type :
Inline : Every element of the form is displayed in one single line.
Horizontal : Every element of the form is displayed side by side.
Vertical : Every element of the form is displayed vertically one for each row.
Text Color: Choose the text color.
Show Label Text: Show/hide the label text
Show Placeholder Text: Show/hide the Placeholder text
Subscribe button text : Insert the text you want to see in the button (Subscribe, Join now)
Button Background Color : Change the Button Background Color
Button Text Color : Change the Button Text Color
Fields
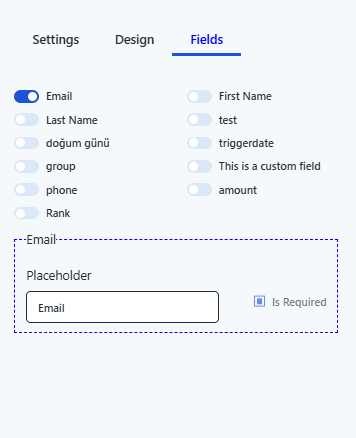
Email : Enabled by default
First Name : Enabled by default
Last Name : Enabled by default
Custom Fields : These are the custom fields that are found in your account
Field Settings :
Place Holder (what do you want to show in the field as placeholder text )
Is Required (checked / unchecked) make a field required or not.
Once the subscription for has the desired design and composure you can save it by clicking the Save button and the form is ready to use.