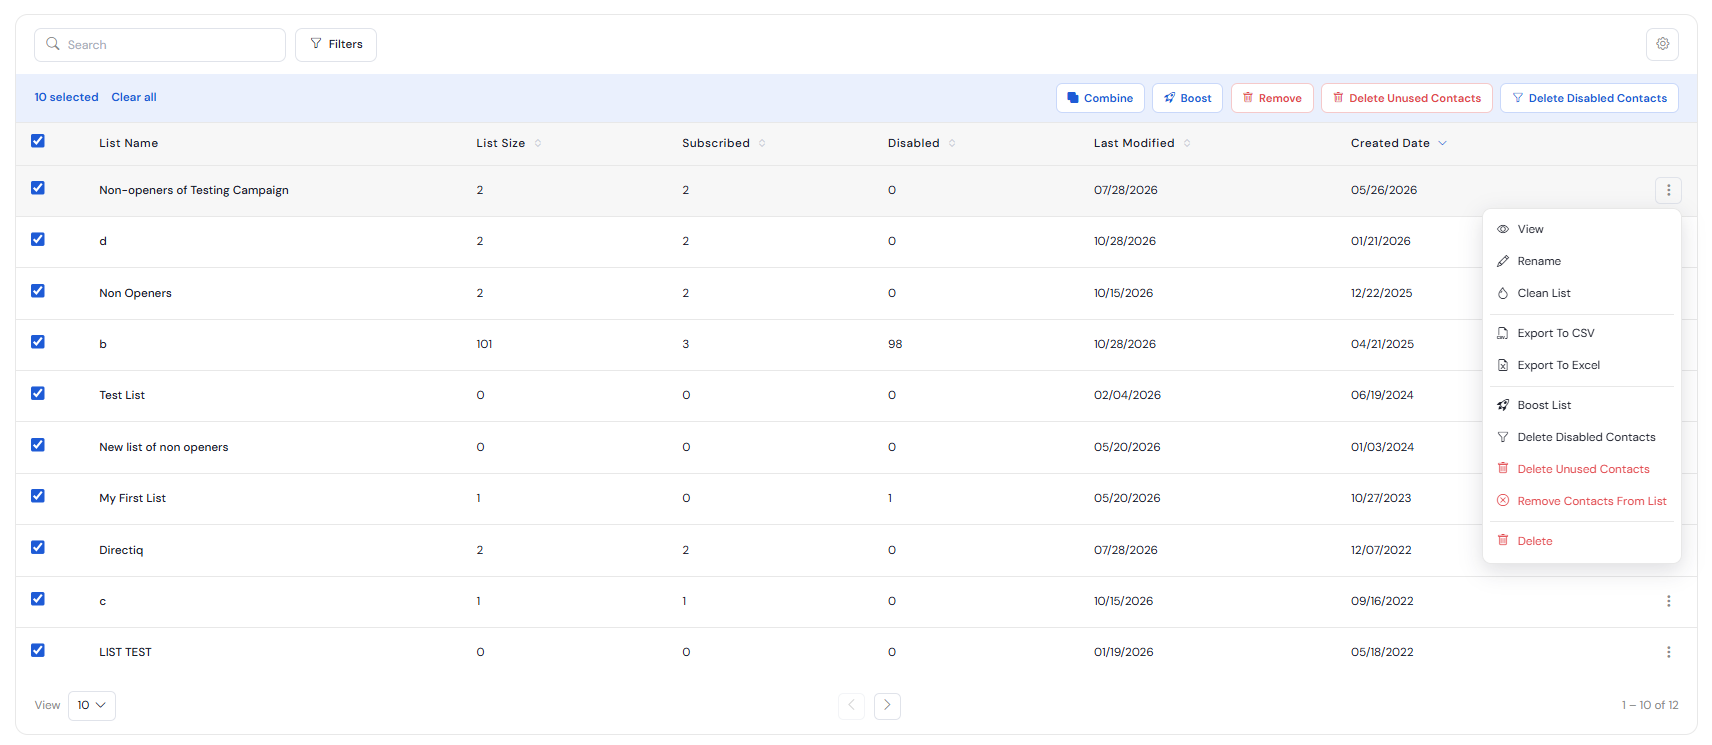
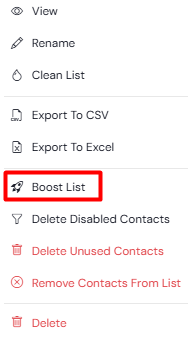
Go to Contacts -> Contact Lists to see and manage your contact lists. Select the contact list and click on the 3 dot menu icon at the end of the row to open the context menu. You will see a list of actions you can perform.
Rename
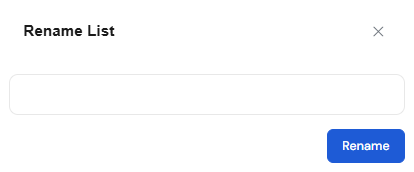
To rename the contact list click on Rename in the 3 dot menu icon. A dialog for editing the name will open. Enter a new name and click Rename. The contact list will be updated immediately.
View
You can open List Details page which displays information about all contacts of the selected list by clicking View button in the 3 dot menu icon.
Export
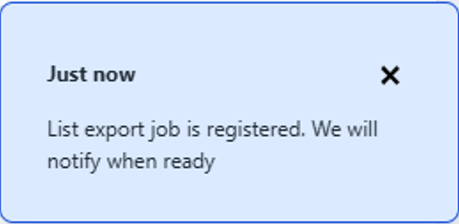
You can export the contact list to your computer in .csv format. In order to do this, click the Export button in the 3 dot menu icon. Then a message informing you that the export has started will appear at the top of the screen.
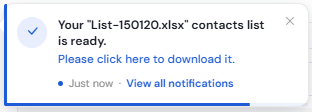
After the file is ready, a message with the file download link will appear. Click on this link to download the file.
Delete Disabled Contacts
To remove all Disabled contacts from the list select the desired list then click Delete Disabled Contacts in the top options menu. Then click Delete in the dialog box, that will appear.
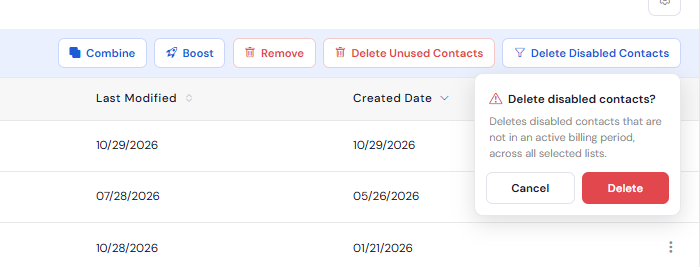
After this, a notification with a message about the successful deletion of the list will appear at the top left of the page. The contact lists will be reloaded and you can see updated information.
Boost Lists
In order to maximize your list quality there is a need to always check reports and engage in managing contact lists. DirectIQ has automated this process introducing Boost Lists. Boost lists allows you to extract the best qualitative contacts of a list (openers in the last 1 week, 2 weeks, 1 month, 3 months, 6 months choosing the time span)
Note: A list might be very large and boosting might take a while running in background:
After deciding to boost a list a newly created list named exactly as the original list is saved with the difference of the text (BOOSTED) at the end.
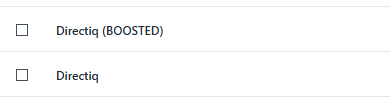
After boosting is completed you receive a notification as shown in the image:
How to boost a list? on the picture below is explained how to boost a list:
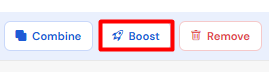
In order to highlight the most important contact lists and have a higher performing list click Contacts >My Lists and on the 3 dots menu on the right side of the list click on Boost Lists in the context menu.
Delete
You can delete the list by clicking Delete in the drop-down menu and confirm this action in the dialog by clicking Delete .
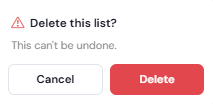
After this, a message about the successful deletion will appear at the top of the page and the list will be deleted in background.
See also: