In order to see and manage all your templates go to Templates -> My Templates.
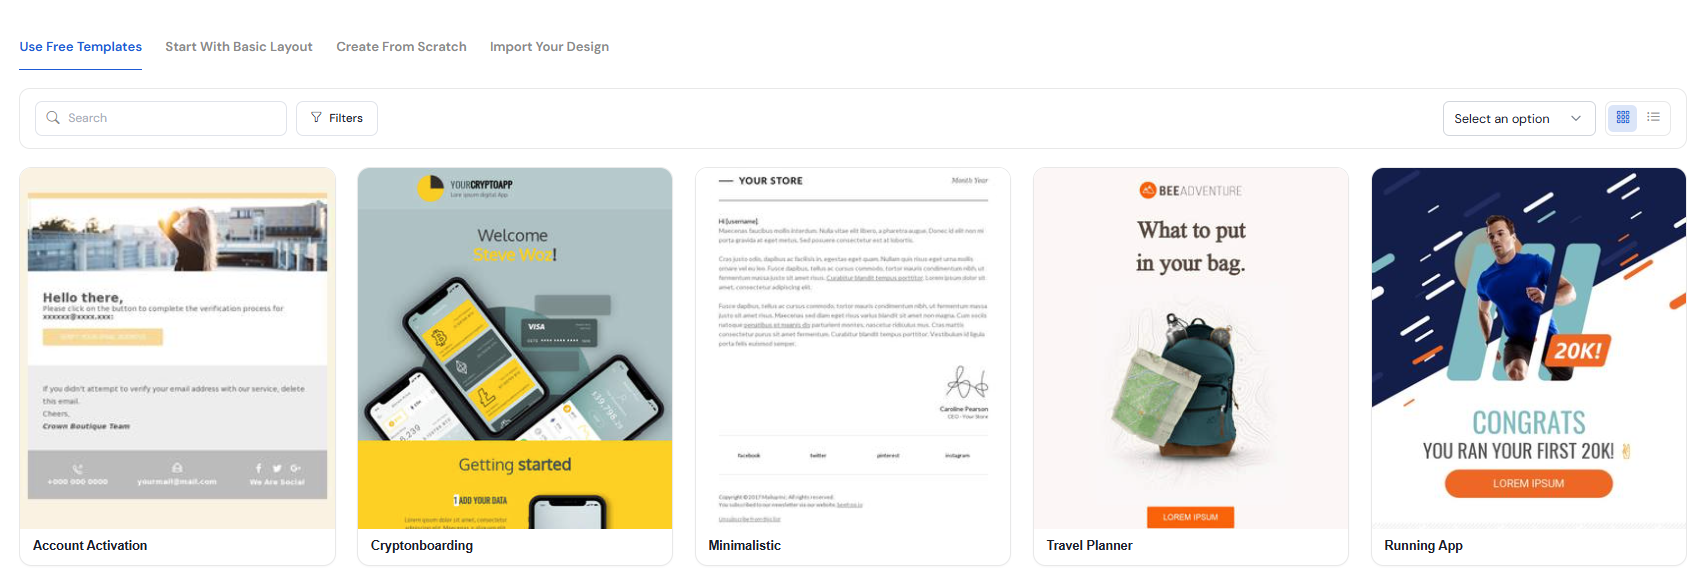
At the bottom of each template, under its name, there is a row of buttons with which you can manage the template.
Preview Template
To preview a template in a Browse Window click on the thumbnail image or on the preview icon (Magnifying Glass) in the bottom left corner of the template.
Edit Template
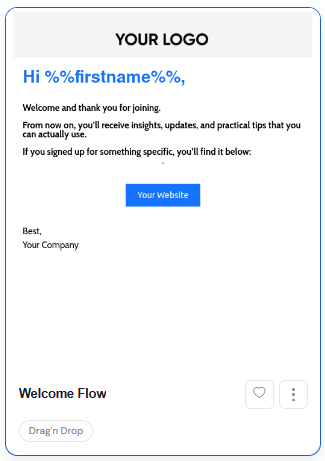
You can edit a template in Drag&Drop Editor or in Rich Text Editor depending on where you created it (under each template there is a label with information about how this template was created).
To open the editor click on the template and then click on Edit template button in the preview window.
Mark Template as favorite
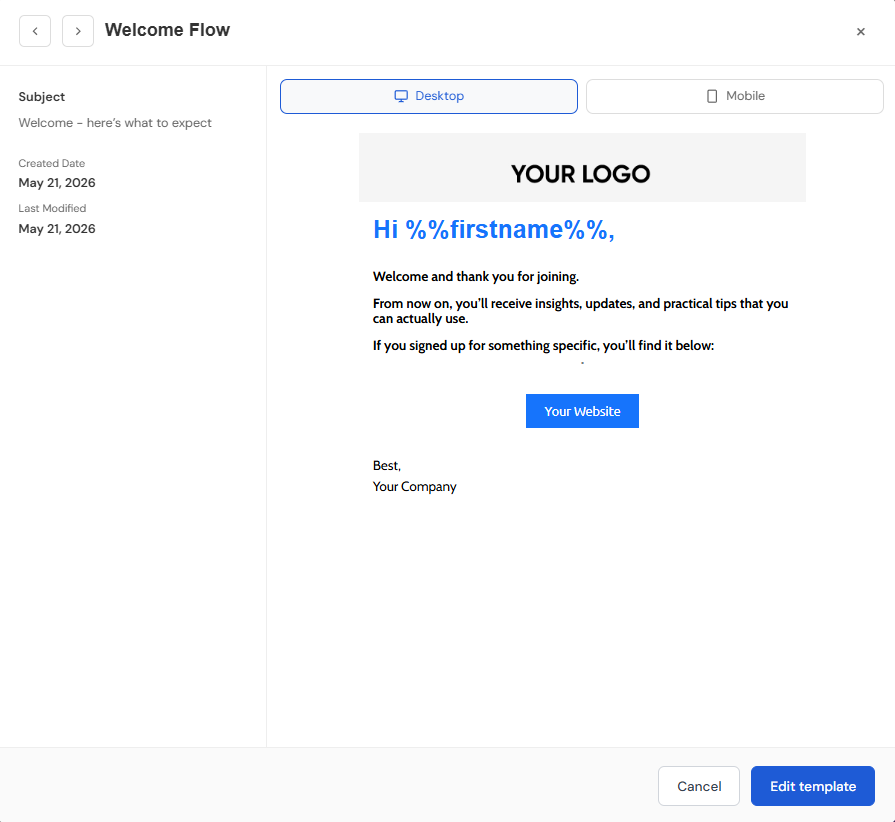
To quickly find the most used templates you can highlight them by marking them as favorites. To do it click on the heart icon under the template name. Then template will be added to the favorite list and the color of the heart icon will be changed to blue.
Delete Tags
Under each template, you can see a list of tags with which it is marked. It is possible to delete a tag by clicking on the cross at the right of the tag label.
Context menu actions
You can duplicate, archive, delete a template, and add tags to it. These actions are available from the context menu. Click on the menu button at the bottom right corner of the template to see a list of actions you can perform with this template.
Duplicate Template
To make a copy of the template do the following steps:
Click Duplicate in the context menu.
Enter a new template name in the dialog box that will open. The default name is "Original template name (copy)".
Click Save.
An exact copy of the template will be created.
Send Campaign
To create and send a campaign using the selected template, follow these steps:
Click Send Campaign in the context menu.
You will be redirected to the campaign creation page, where the selected template will be used as the campaign design.
Enter a campaign name and complete the required campaign settings.
Select your recipients and configure the sending options.
Review your campaign and click Send or schedule it for a later date.
Your campaign will be created using the selected template and sent to your chosen recipients.
Send Test
To send a test email using the selected template, follow these steps:
Click Send Test in the context menu.
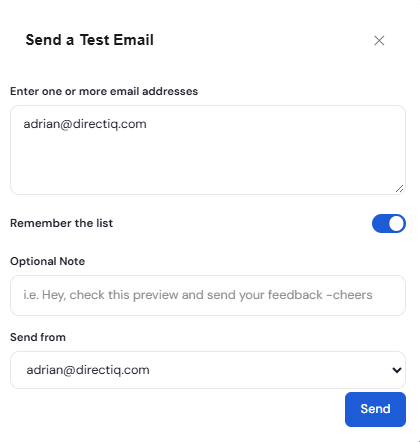
Enter the email address or addresses where you want to receive the test email.
Click Send Test.
A test email will be sent to the specified addresses, allowing you to check the template's appearance and content before using it in a campaign.
Inbox Preview
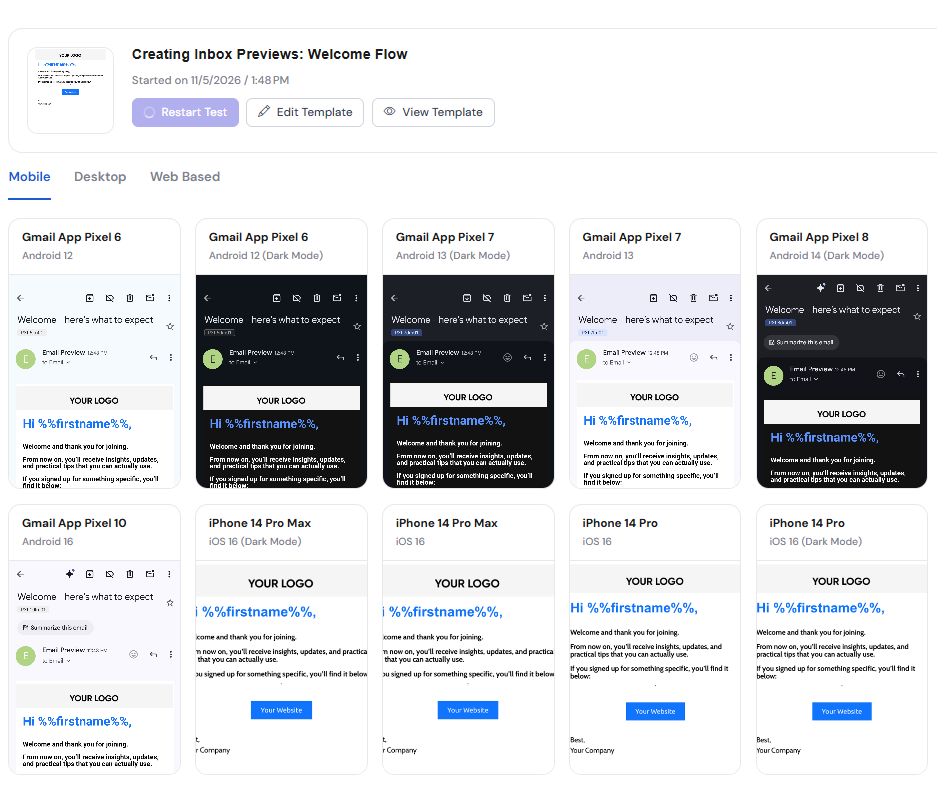
To preview how your template will appear in different email clients, follow these steps:
Click Inbox Preview in the context menu.
The preview tool will generate a visual representation of your email across supported email clients and devices.
Review the previews to check the layout, formatting, images, and overall appearance.
Make any necessary adjustments to your template based on the results.
This helps you identify potential display inconsistencies and ensure your email looks as expected across different inboxes.
Spam Doctor
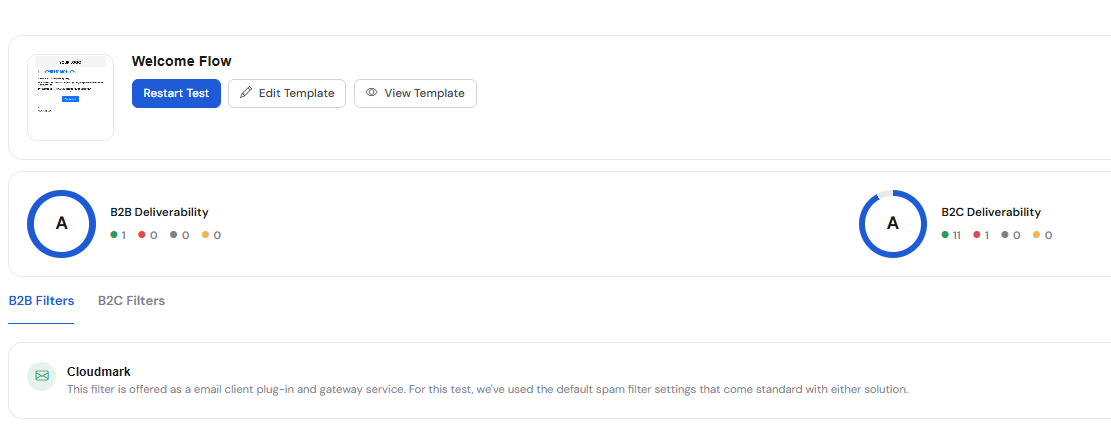
To check your template for potential spam-related issues, follow these steps:
Click Spam Doctor in the context menu.
The tool will analyze your email content for elements that may affect spam filtering.
Review the analysis and any warnings or recommendations provided.
Make the suggested adjustments to improve your email content and reduce potential spam-related issues.
Spam Doctor helps you identify potential problems before sending your campaign and improve the chances of your emails reaching recipients' inboxes.
Add a tag to Template
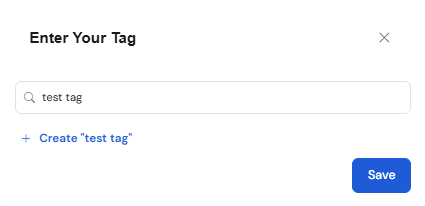
If you want to mark a template with tags click Add Tag in the context menu. In the dialog box select tags from the drop-down list or enter a new tag in the text field. Here you also can delete a tag by clicking on the cross at the right of the tag. When all tags are selected click Save.
Archive Template
There may be outdated templates on your list, that you are not currently using but do not want to remove. In that case, you can archive them. To do this click Archive in the context menu, then click Archive in the confirmation dialog. The template will be moved to the archive list.
Delete Template
WARNING: Deleting a template will permanently erase it from your DirectIQ account, along with any changes you made to the template. You will NOT be prompted to confirm that you want to delete the template. Archiving your template is recommended instead of deleting it.
To permanently delete a template click Delete in the context menu, then click Delete in the confirmation dialog.
See also: